What to Do With Old Papers and Family Documents (Without Getting Stuck)
*This post may have affiliate links, which means I may receive commissions if you choose to purchase through links I provide (at no extra cost to you). All opinions remain my own.
If you inherited a box of paperwork and you’re not sure where to begin, you’re in good company. I see this all the time in my work as a genealogist. A relative passes, a home is cleaned out, and suddenly you are holding someone else’s life in your hands. Some of it is meaningful. Some of it is confusing. Some of it is just paper.
So let’s talk about what to do with old papers in a way that feels realistic. You don’t have to read everything right away. You don’t have to organize it perfectly. You just need a simple plan that protects what matters and captures the clues that move your research forward.
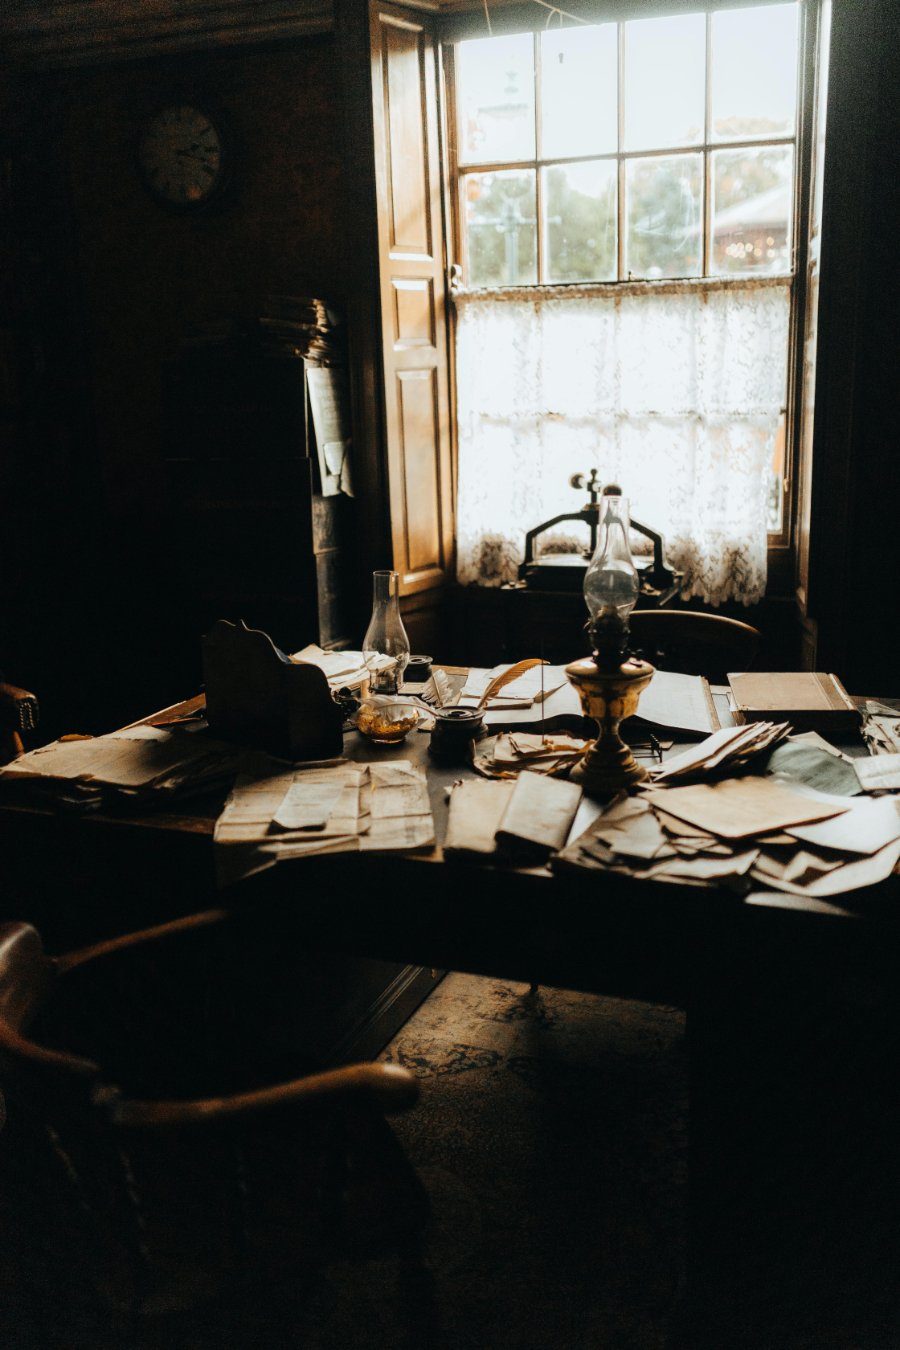
Photo By: urtimud.89 via Pexels
Step 1: Step Back and Take Inventory (Emotionally and Practically)
Before you sort, pause for a moment. Old documents can bring up memories fast. Give yourself space to feel whatever comes up, then shift into “practical mode.”
Do a quick scan of the whole pile:
Is anything damp, brittle, or dirty?
Are there paper clips, staples, rubber bands, or tape that could damage paper over time?
Are photos mixed in with the papers?
Are there items that feel sensitive, like medical or financial information?
This first pass is not about reading every page. It's about spotting anything fragile or sensitive and getting the pile under control. Once you know what needs gentle handling, the rest of the sorting goes much faster.
If you want a simple place to track what you are finding, I use my Genealogy Records Workbook for exactly this. I jot down what the item is, who it relates to, where it came from, and what questions it raises.
Step 2: Use the Four Pile Triage Method
When people ask me what to do with old papers, this is the method that helps the most. It keeps you moving and it limits overthinking.
Create four piles or four boxes:
Pile 1: Keep Originals
Use this for items that are unique, fragile, historically meaningful, or deeply personal.
Pile 2: Digitize and File
Use this for anything you want preserved and easy to share, including originals and paper copies. Digitizing creates a safety net if items get lost, damaged, or separated later.
Pile 3: Needs Research
Use this for papers you cannot identify right away, or papers you cannot place in your family yet. If you’re not sure what it is, who it relates to, or whether it has lasting value, park it here and keep sorting.
Pile 4: Let Go Responsibly
Use this for duplicates, modern paperwork with no long-term purpose, and items that don’t connect to your family story. Shred anything with private details.
This step matters most families cannot store everything forever. Your goal is to keep what carries value and release what does not.
Quick Note: Once you’re done sorting, digitize the originals from Pile 1 as well, then store them safely.
Step 3: Decide What to Prioritize First
Now that the piles exist, choose a starting point. I recommend this order:
Fragile items first
One-of-a-kind items next
Documents packed with clues
Clue-heavy documents often include full names, places, churches, schools, employers, military units, or courts. Those details unlock more records later.
You may also find old newspapers or clippings in the pile. Keep them only if they mention your family, your town, or an event tied to your people. Otherwise, they usually fall into the “let go” pile.
If you’re stuck deciding what to do with old papers first, choose one small goal. Try “anything that includes a full name and a town.” That creates momentum and gives you a fast win.
Step 4: What to Keep
Here’s my simple rule. When you’re choosing what to do with old papers, ask: “Does this tell me something about a person’s identity, relationships, or life events?”
I almost always recommend keeping:
Birth, marriage, and death records (originals or certified copies)
Immigration and naturalization documents
Military service papers and discharge papers
Deeds, land papers, and probate documents
Church records, sacraments, funeral cards, and cemetery papers
Family Bible pages and handwritten family lists
Letters, diaries, postcards, and journals
Photos with captions or notes
Anything that names a town, parish, county, cemetery, or other type of location
Also keep documents that explain change. Moves, name changes, remarriages, shifts in occupation, and sudden gaps. Those papers often hold the story behind the records.
If you’re unsure about an item, place it in “Needs Research.” You can decide later. That’s still progress toward figuring out what to do with old papers.
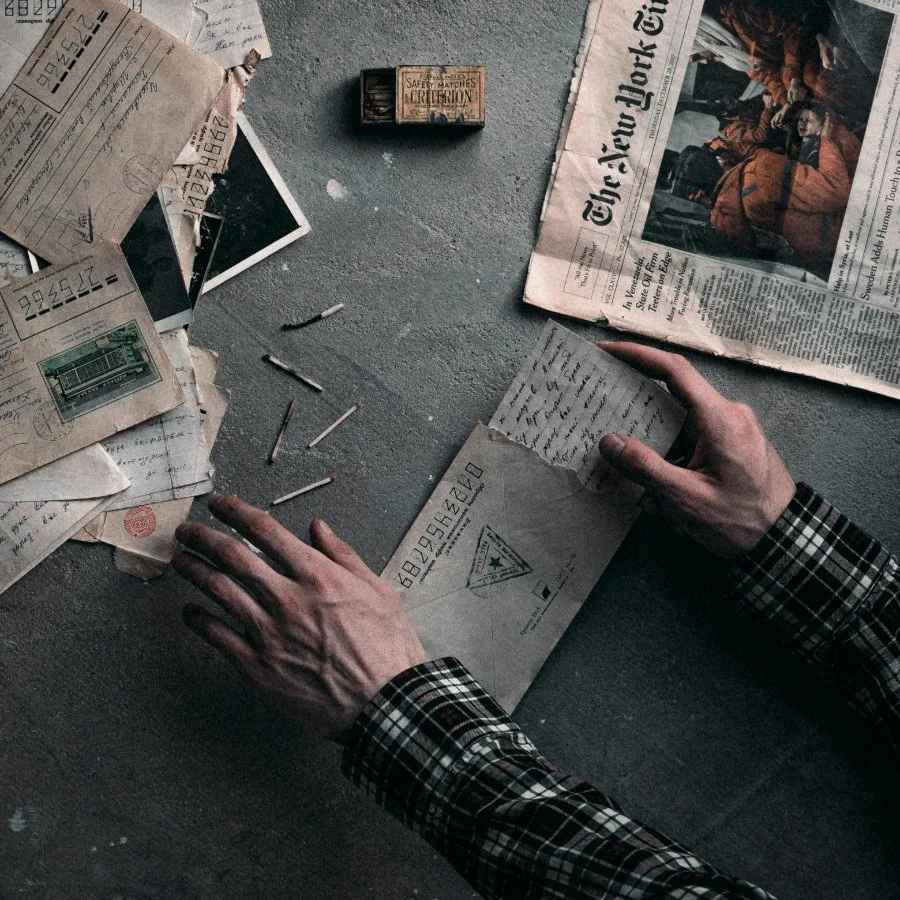
Image by: Elijah O'Donnell via Pexels
Step 5: What to Record While You Sort (Capture Now, Research Later)
This is where your future self will thank you. While you sort, write down what is easy to lose later.
I record:
Names, places, and dates mentioned
Who created it, who owned it, and who passed it down
Where you found it (which box, which folder, which relative)
Any family memory it sparks
A quick note on why it might matter
This is also a great place to use my Ancestor Timeline. Timelines help you spot gaps and conflicts fast, especially when multiple relatives share the same name.
If your sorting session brings up stories you want to save, my Mother Memory Journal helps you capture those memories with simple prompts. It keeps the stories from slipping away while you focus on the paperwork.
Step 6: If You Find Old Family Photos Mixed in With Papers
This happens constantly. People tuck photos into envelopes with documents, and then everything merges into one pile. If you find old family photos, separate them right away.
Here is what to do with old family photos in the middle of a sorting session:
Stack photos flat and handle them by the edges when you can.
Do not paperclip photos to papers.
Don’t peel photos off paper if they seem stuck.
Then capture a few notes:
Who might be in the photo
Where it was taken
A rough date range
Any studio name or town printed on the front or back
What papers it was stored with
If you have older pictures with no labels, group them by rough time periods and faces. You can identify them later by comparing them to known photos and family patterns.
Step 7: A Mini Digitizing Plan (Simple and Realistic)
You don’t need to scan everything. Start small and scan strategically.
When clients ask me what to do with old papers digitally, I recommend:
Scan fragile or meaningful items first
Capture both sides if there are stamps, notes, or handwriting
Use a clear file naming pattern (surname, given name, year, document type, place)
Back up in two places
If your pile includes letters, I walk through safe handling, storage, and simple ways to protect them in my post on preserving old letters.
If you want a step by step plan you can follow as you sort, Letters From The Past is a helpful companion. It gives you a clear process for protecting letters now while keeping them easy to access as you continue your research.
Step 8: Share the Love Without Giving up Originals
Many people want to share family history but fear losing originals. I agree with that instinct. Originals can be hard, if not impossible, to replace.
Here is what works well:
Create a “Family Highlights” folder with ten to twenty items first
Add one sentence of context to each scan
Share copies, not originals
Keep originals in your “Keep Originals” pile
Step 9: Spot Archive Clues
Here is a truth I repeat often. Many records are still offline. Libraries, archives, and local repositories hold a huge amount of material that never makes it to the big websites.
So as you decide what to do with old papers, look for clues that point to offline records:
Church and parish names
Town offices and counties
Courts
Cemeteries and funeral homes
Military units
Schools and universities
Employers and unions
If a document names a specific church, town clerk, cemetery, or court, that often becomes your next record request. You can contact archives directly and ask for copies, even if you cannot travel.
If you want help planning an archive visit or figuring out what to request, Archive Ace supports that process. And if you would rather not handle it yourself, you can hire me for Done for You research. I offer 5 and 10 hour sessions, and I can contact archives on your behalf.
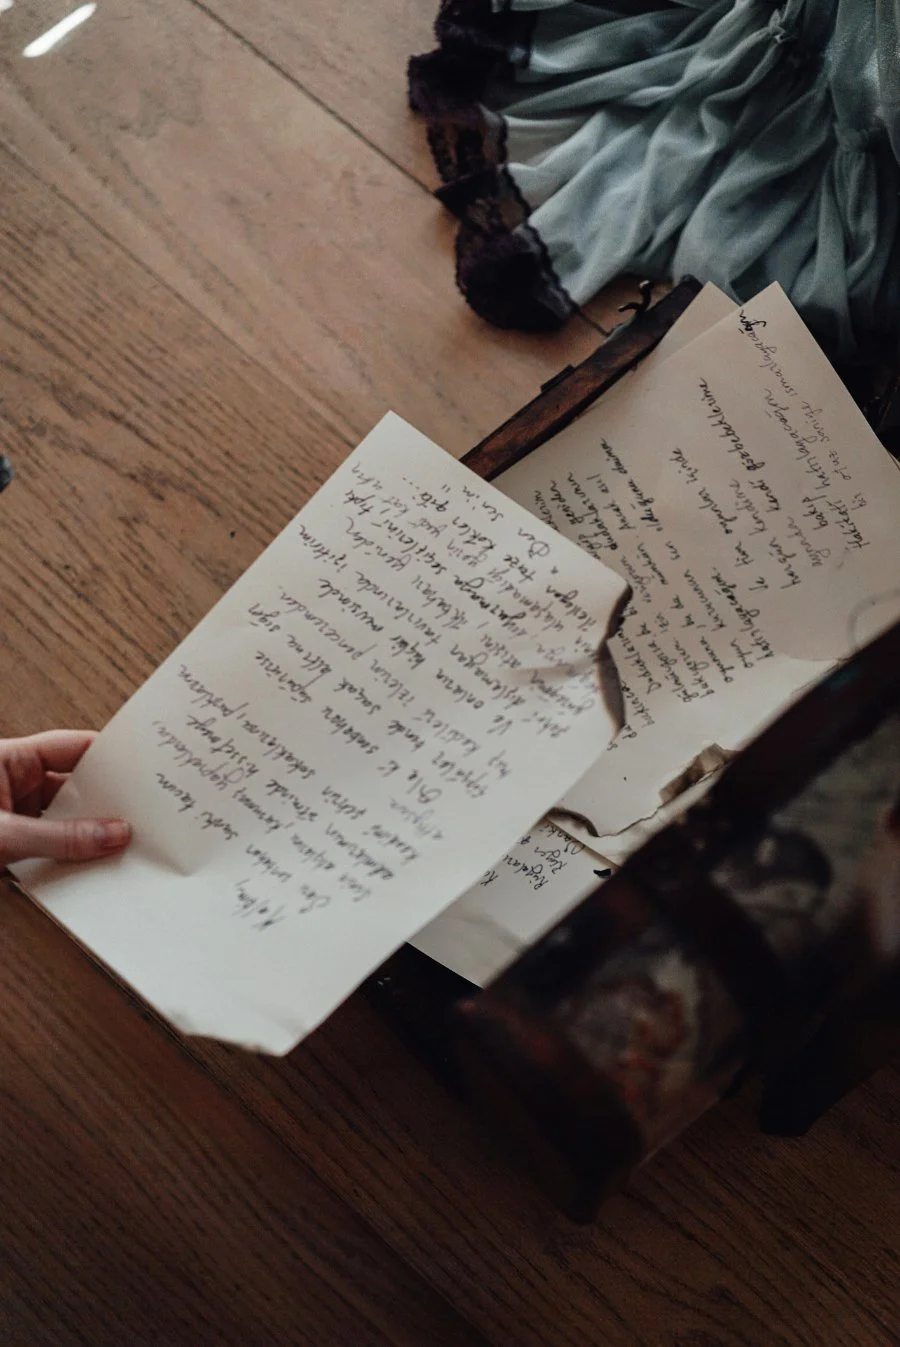
Image by: furkanfdemir via Pexels
Your Next Small Step
At this point, you’ve done the hardest part. You have taken a pile of paper and turned it into decisions. You know what needs to be kept, what can be digitized, what requires research, and what you can let go of.
Now, keep your next step small. Choose one folder, one envelope, or one category and spend twenty minutes capturing names, places, and dates. That is enough to move forward.
If you want help creating a clear plan for sorting, digitizing, and sharing, or would rather hand the research off, my Done for You packages are available. If you’re not sure where to begin, book a free 20-minute consultation and I will help you choose the best next step for your family.