An Introduction To The Best Way To Store Old Photographs
*This post may have affiliate links, which means I may receive commissions if you choose to purchase through links I provide (at no extra cost to you). All opinions remain my own.
In this post
How to handle photo prints and negatives
How to store negatives and photos
Archival photographic storage supplies
More tips for working with old photos
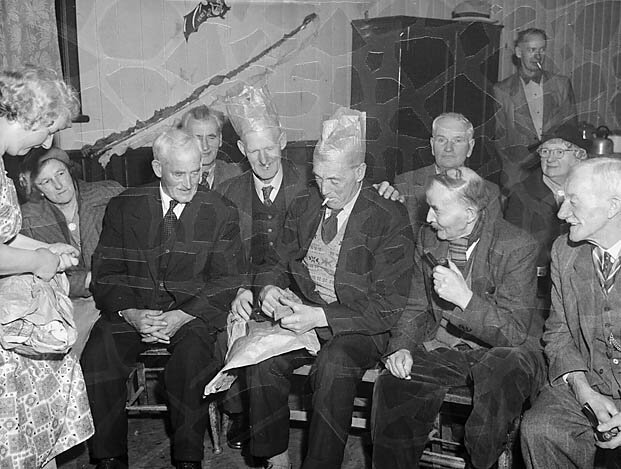
Just about all of us have at least some family photos, even if they were more recent (like the 1950s and not the 1870s).
Some of us are lucky enough to have cabinet cards and other older, heirloom photos.
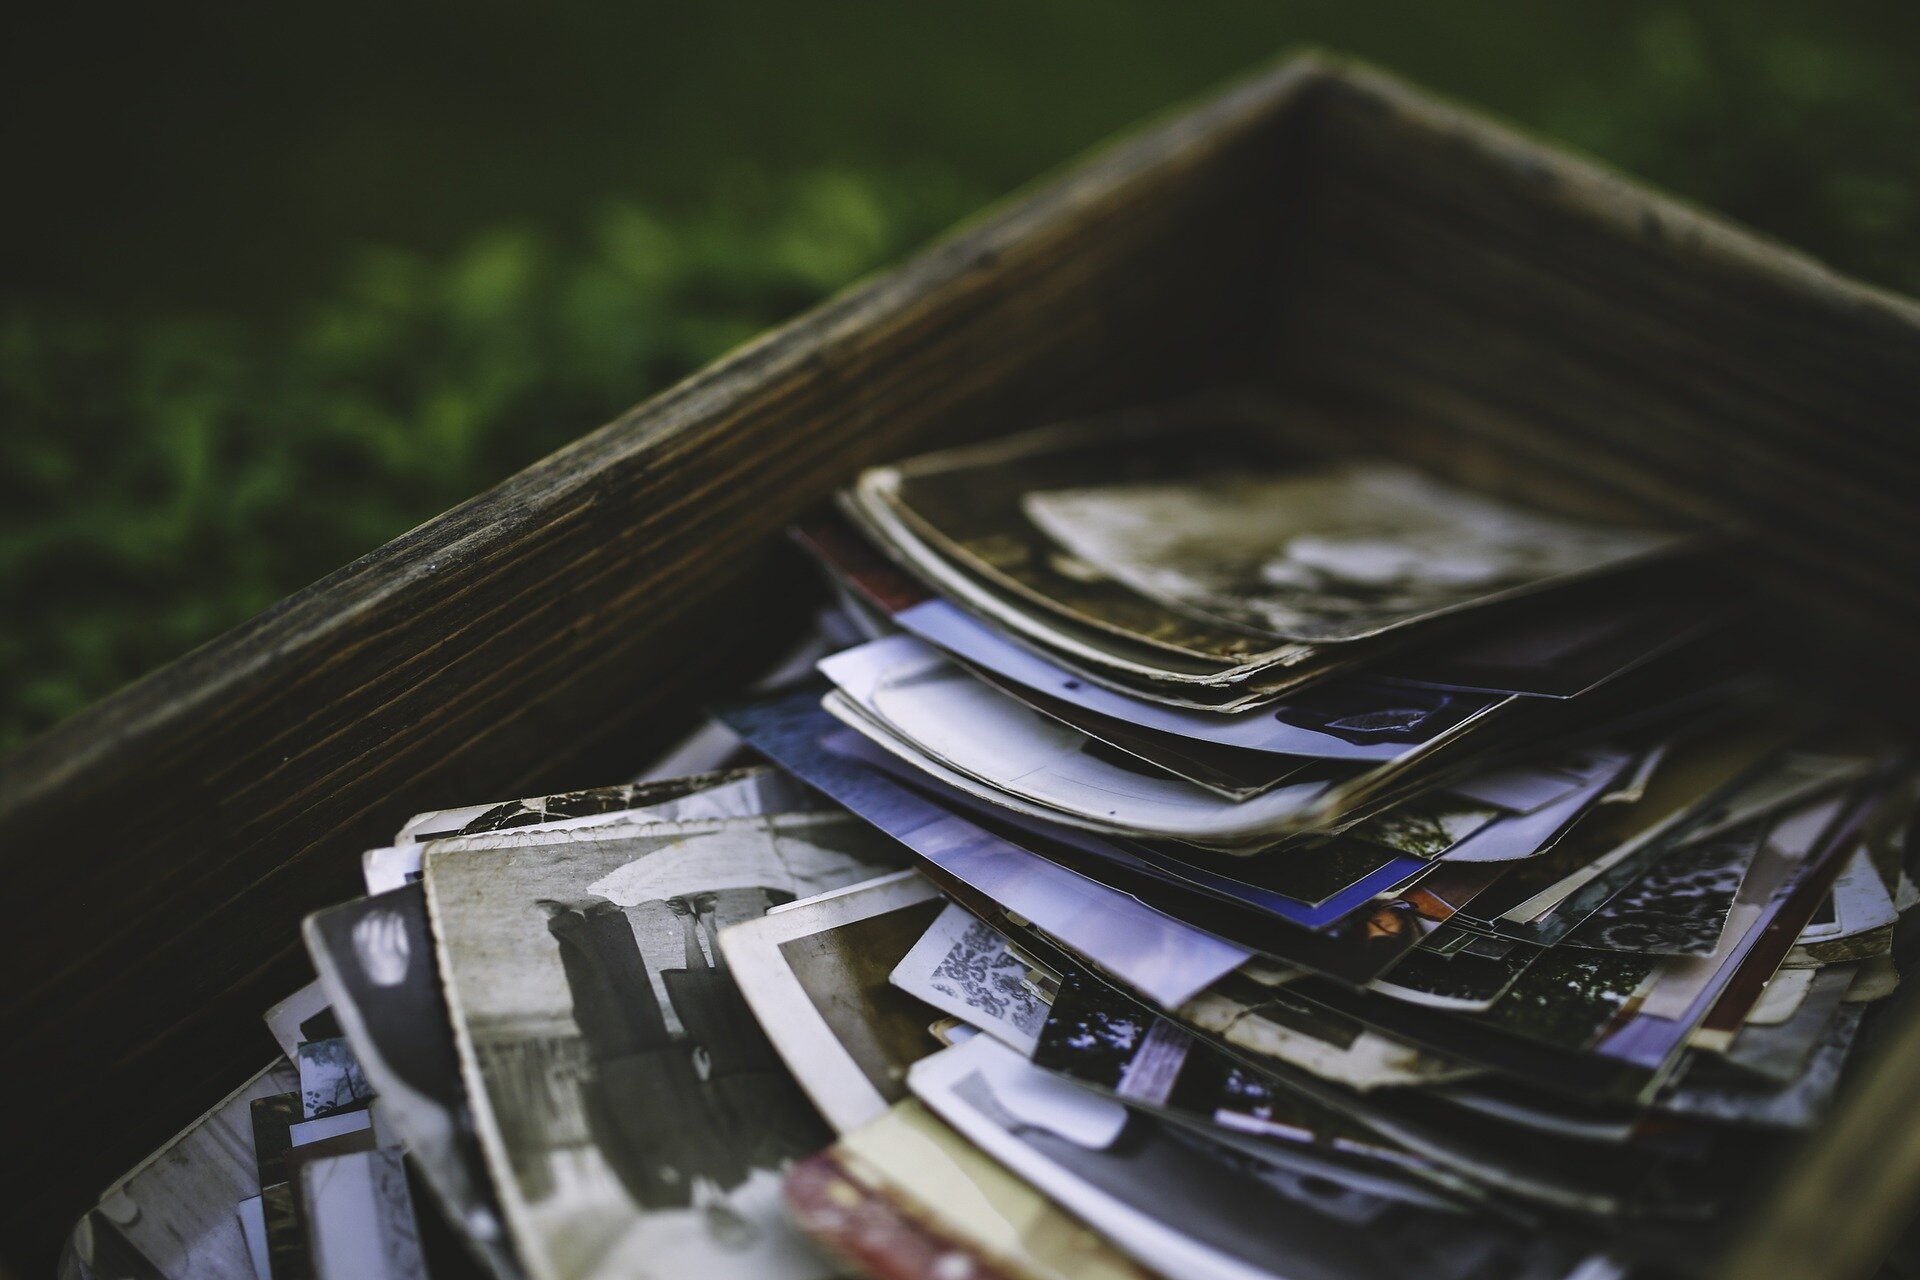
These might be in a random box somewhere, maybe in a closet or attic. In my dad’s case, they were in a sweater box from the 1940s!
We all want to take care of these little heirlooms, but don’t always know how to, so they stay sitting in that box in the attic.
So how can you preserve them for the next generation?
In this post, I’ll share some tips on the best way to store old photographs, including how to properly handle and care for them.
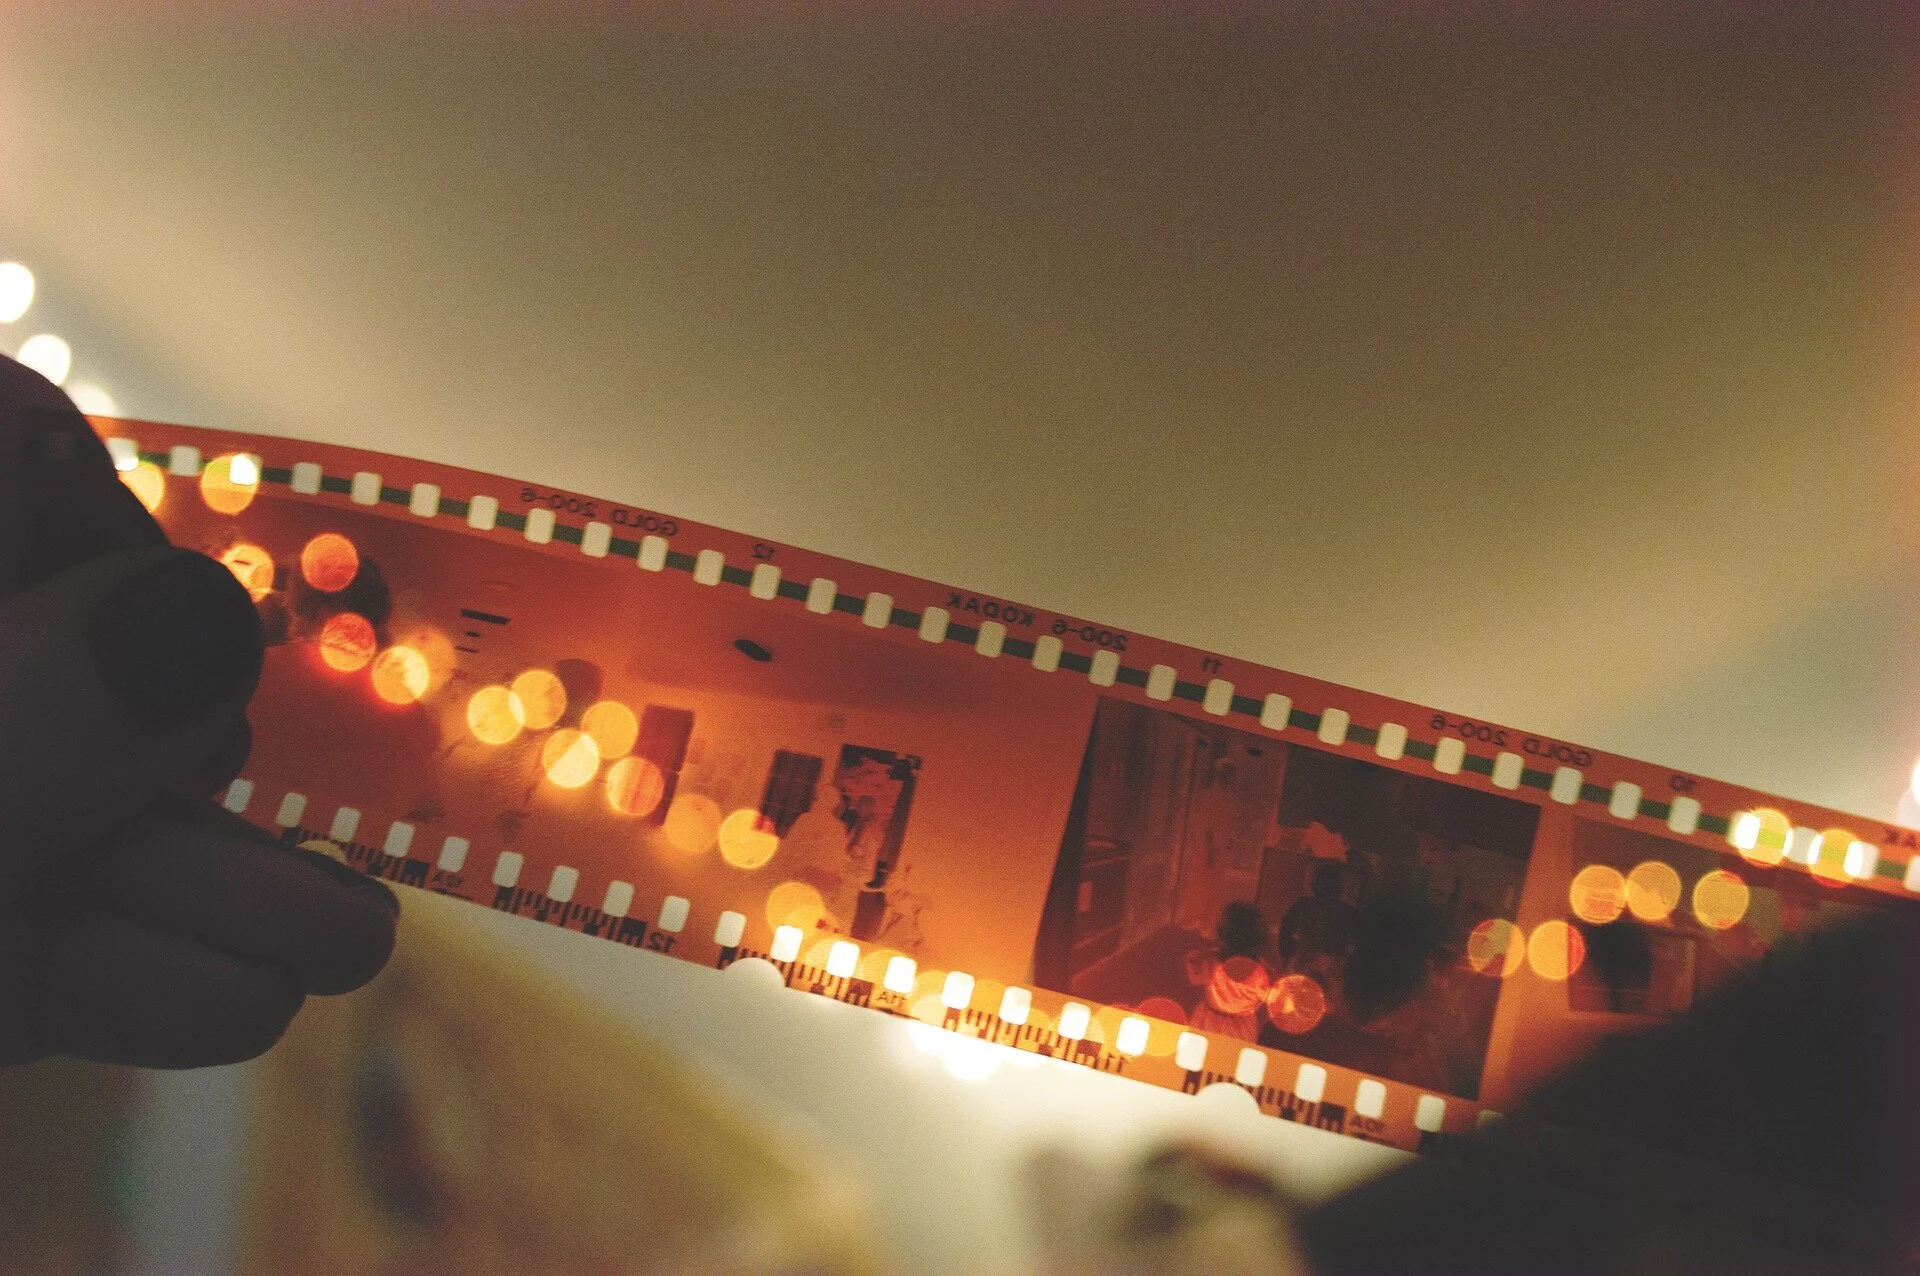
And don’t forget about the negatives! Those need special attention, too.
Handling photos and negatives
Let’s talk about how to handle old photos and negatives so they don’t get harmed.
Some tips for working with these are:
Lay them on a clean, dry workspace
Use cotton or nitrile gloves. You can leave oils from your skin or other gunk on them. I’ll share more about gloves below.
Keep everything that could harm them out of the way. Don’t let food, drinks, keys (or anything that could scratch them), or pens get near them.
Don’t use paper clips, rubber bands, or other bindings to keep them together. These can scratch or bend them.
Don’t use any adhesives like tape or glue. These can be acidic and can change the colors.
Don’t smoke around them. While mild smoke damage can be treated, you don’t want to have to deal with that.
It’s also best to not overhandle them. If you know you’ll want to look at them often, make scans and put those in an album or frames and keep the originals safely tucked away.
Related posts:
How to properly store old photos and negatives
One of the main reasons that pictures get damaged in the first place is not being housed correctly. This is often a basement or attic, where they can get exposed to changes in heat and humidity.
Incorrect temperatures and moisture can cause mold, fading, brittleness, and other undesirable things.
Three key things to take into account when storing family pics are:
1) A space with the right temperature. It should be:
Dry, with 30-40% humidity
Relatively cool, ideally about 65º (or at/below room temperature)
Away from vents and radiators
Away from pipes and windows and anything else that can leak, on a shelf if possible
This means no basements, attics, or garages.
2) A place away from light. Exposure to light can make them fade or become yellow. Keep them in a dark space and avoid subjecting them to direct light.
3) The right containers. Use quality storage materials. Look for supplies that are:
Acid-free
Lignin-free paper
Unbuffered paper (which has a neutral pH level so it’s not too acidic or alkaline)
For plastic: uncoated polyester, polypropylene, or polyethylene materials
More tips on supplies coming up.
Related posts:
6 Common Genealogy Mistakes and How to Avoid Them
Archival quality photograph supplies
After you’ve found the best spot in your home to keep your snapshots, the next step is to find the right supplies. It’s best to use archival quality materials.
You may be thinking, how much is that going to cost me? Don’t worry, it usually isn’t too expensive and there are often several choices so you can pick the supplies within your budget.
You can also prioritize which items to start with based on your budget and the space you have.
Before you get started, choose which items you want to get supplies for first. Maybe it’s only your oldest photos, and nothing more contemporary.
Then make a list of what size images and negatives you have, and how many. This will help you pick out the right materials.
Some suggested supplies you can try out are:
1) White cotton or nitrile gloves like this, this, or this.
2) It’s also good to keep negatives separately from prints. You can try negative sleeves or photo envelopes with a pocket that you can keep both prints and negatives in.
If you go with envelopes, place them in a photo safe box.
Negative sleeves can be kept in a binder box. This type of binder will keep pages more secure than a regular 3 ring type, so pages won’t fall out. It's also archive grade.
3) For storing prints, there are several options you can use, and it really depends on how many you have. If you have a lot, then the envelopes and box just mentioned are an affordable choice.
If you don’t have too many and/or have odd-sized prints, individual envelopes or sleeves would be a good option. Plastic sleeves are great for easily identifying images, but envelopes can be sturdier.
For envelopes, these can fit larger sizes if you have bigger images.
For sleeves, these can hold a variety of sizes and these hold smaller prints.
Try to keep these flat in a box that fits the prints relatively closely, so they don’t shift around.
If you have pictures such as tintypes or daguerreotypes in cases, use acid-free envelopes and keep them flat. If you have tintypes that are not in a case, use a plastic sleeve.
4) An acid-free, archival quality pen for labeling everything.
5) You may also want to pick up a small humidity meter to keep with them to be sure the storage area doesn’t get little or too much humidity.
Other tips
Shifting everything to proper storage is a great time to get any pictures you currently have in those glassine or magnetic type of albums out. Those albums aren’t acid-free and can cause yellowing and fading.
Be careful when you do take them out. The photos can stick to the pages, making them easy to tear.
This is also a great time to digitize any images that you haven’t already. You can also scan negatives with many flatbed scanners. If you have a lot of pictures and not a lot of time, consider taking them to a professional to get the job done quickly.
Don’t forget to scan the back if they’re labeled!
Back up all your scans to an external drive and to the cloud.
Don’t overstuff the containers you choose (box, album, envelope, etc.). Put just enough in to fit comfortably.
If they’re still in the original envelopes from the photo lab, you can use those to identify what’s inside and the date they were taken.
Label things. And it probably goes without saying but label any photos, envelopes, or negative sleeves before you put anything in them. You don't want to leave an impression from writing.
What to do with damaged photos
While getting all your photos together to preserve them, you may find some damaged ones.
You could find ones that got stuck together or got torn. Even worse, you could find mold or insect damage.
Sadly, mold and insects can get to our family photos. They could have been kept in the wrong environment, or maybe your family experienced a natural disaster.
If you find mold or insects, first get all of the affected items away from the rest to keep either from spreading.
Handle them outside if possible. Put them on a surface that’s disposable or that you can clean with bleach.
Mold is a serious health hazard so protect yourself with disposable gloves and an N95 mask.
For any type of issue, don’t try to clean or restore the photos yourself. You may cause more problems.
Depending on what’s wrong with them, you may need to bring in professional help. Contact a conservator in your area to see if they can help you repair the issues.
If you come across any negatives that smell like vinegar, that’s a sign that they’re deteriorating. This is called vinegar syndrome. But don’t sniff too closely! That smell can be bad for you.
Once vinegar syndrome has started, you can’t undo it. Film naturally degrades over time but storing it the right way will help slow this down.
Use supplies like those I suggested earlier to stop them from degrading more. Keep any of these vinegary-smelling negatives away from others.
Related posts:
How to Organize Your Genealogy Files With Binders
4 Fun And Easy Ways To Use Flickr For Genealogy
Why You Need to Use Libraries and Archives in Your Genealogy
Final thoughts
If you have old family photos, you want to be sure to store them correctly to preserve them not only for yourself but for future generations.
Archival supplies to house your prints and negatives can be found at different price points to fit different budgets.
Buying the right supplies now is also cheaper and easier than having to look for a conservator later to help you repair damaged items. No one wants to have to do that, but sometimes it’s unavoidable, especially if you inherited already damaged photos.
Did you enjoy this post? If so, you can get exclusive resources and tips just like this, delivered straight to your inbox!